article number
213491

ProClip MB Sprinter-VW Crafter 07-16 (extra strong )

Price €182.95
Out of stock
-
+
Proclip MB Sprinter-VW Crafter 07-16 (extra sterk)
  • Fast Shipping
  • High Quality Products
  • Secure Payments
Details
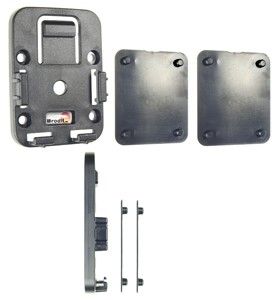
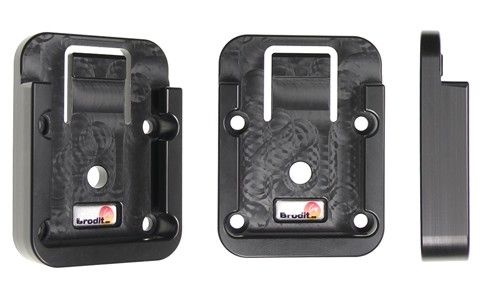
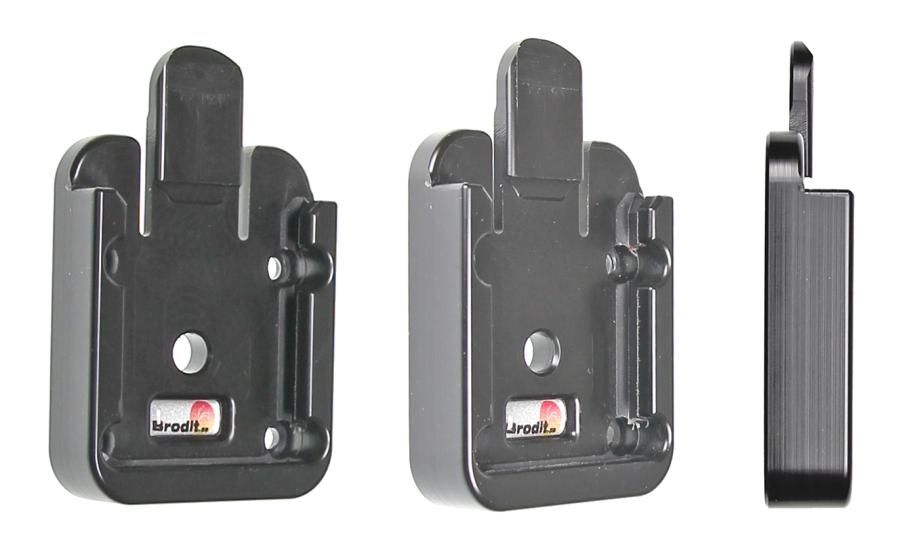
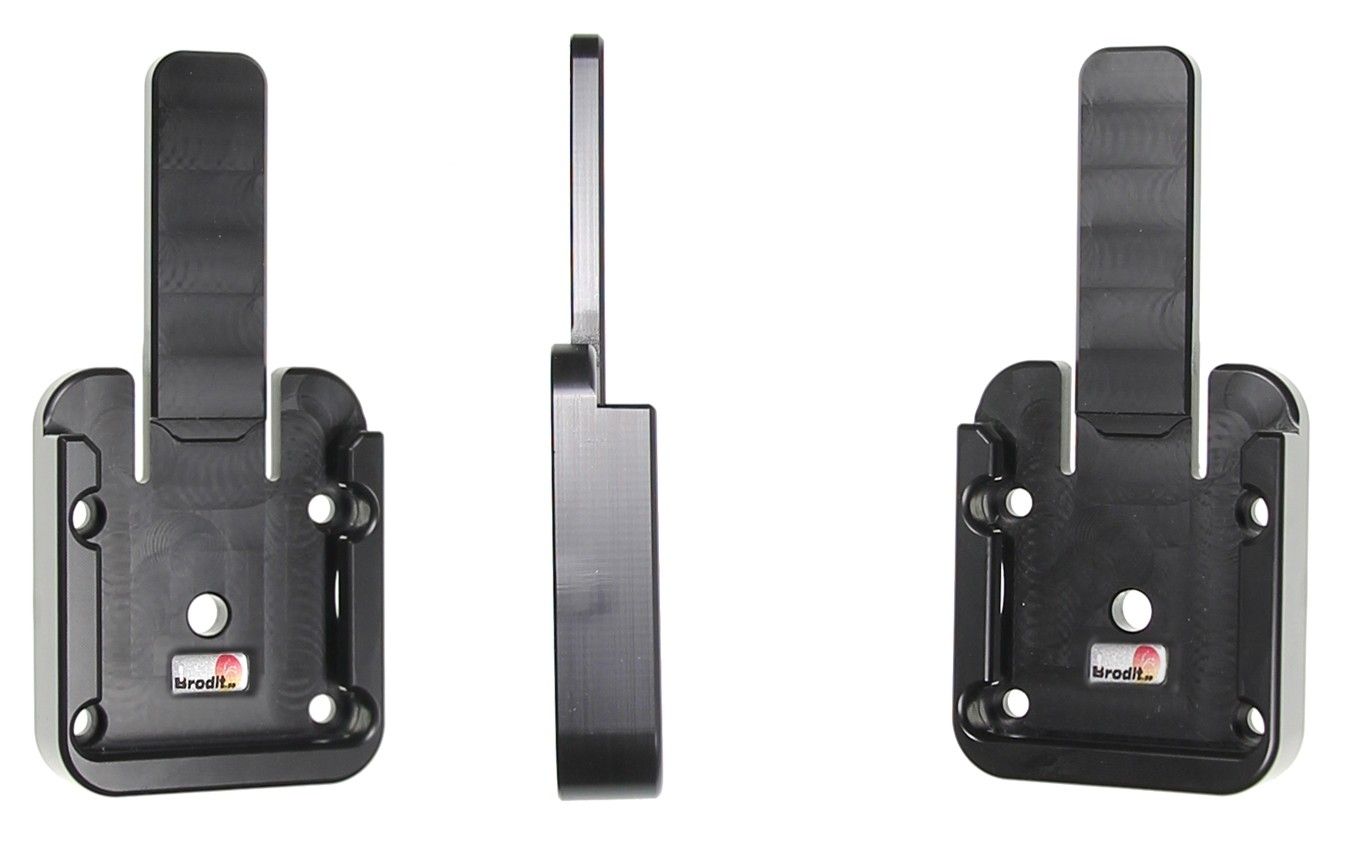
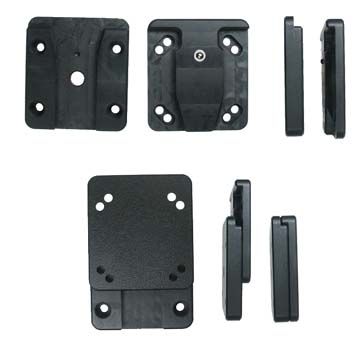
Extra strength mounting platform for installation of heavier devices. You can keep your device in a holder or attach it directly onto the mounting platform. The placement is optimized for touch screens, PDAs, taximeter screens and printers. You will have your device within easy reach, safe and convenient! The installation is quick and easy and will not damage the interior. Detailed installation instructions included.
More Information
More Information
Accessory brand Brodit
Barcode 7320282134914
Recommended retail price incl. VAT €182.95
Mounting feature ProClip left hand
Mounting position Dashboard center
Color black
Montage standaard AMPS sized, no holes
Product suitable for In the Compatibility tab, check the cars that are suitable for this Proclip
Item Returns This item can be returned
Show more + Show less -
Compatibility
Show more + Show less -
Instruction
Please read the instructions and look at the pictures before installing the bracket.
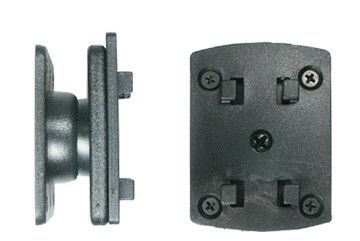
This mounting bracket consists of four parts:
Part 1 - support arm.
Part 2 - mounting plate.
Part 3 - mounting arm.
 
1. Press the enclosed gap opener into the upper gap between the storage compartment and the center console. Press the gap opener upward/forward so the storage compartment comes off on the top side. Repeat the procedure with the gap opener on the lower gap between the storage compartment and center console. Pull out the storage compartment. Note the oval shaped hole at the bottom of the space where the storage compartment was.
 
2. Press the support arm vertically into the space so that the knob at the end goes into the hole. Note that the foam should be on the right side. Turn the support arm clockwise so the knob locks it into place. Thread the enclosed screws trough the holes in the mounting plate and screw into the support arm.
 
3. Screw the mounting arm into place in the pre-drilled holes.
 
4. The mounting bracket is in place.
Scroll to top